Publish Flutter Package in 7 Easy Steps
One of the most underrated features in Flutter is how easy it is to publish a package on pub.dev. If you are ready with the source code, then all you need is a Google account and just 4 CLI commands.
I’ve published a npm package and android library before, and I can tell you that it's NOT that straightforward. Publishing requires a lot of configurations to deploy from the local and the CI.
Last month, I published my first Flutter package marquee_list, and I was amazed at how simple and easy it was. If you are ready with the source code, then all you need is just 4 CLI commands and a Google account.
So, in this blog, we'll go step-by-step on how to publish a flutter package. So let’s get started.
Step 1: Register your account on pub.dev
It is as simple as it can be. Go to pub.dev and create a Google account and that's it.
Step 2: Create a flutter package using the template
I am going to use the command flutter create --template package single_line_text where single_line_text is my package name which will also show up on pub.dev
Step 3: Write the Code for your package
Open the folder single_line_text in your IDE. As I’ve created the package inside my IdeaProjects, I will go inside the folder to open the project and copy my source inside the single_line_text.dart
For the demo, I’ve just added the SingleLineText widget, which will be exposed through our package.
Remember, publishing a package is forever. Once you publish it, you cannot delete it. So please follow the best guidelines on how to create and maintain a pub package.
Step 4: Create an example app
According to pub guidelines, we need to have an example app inside our package to showcase how our package will be used in an app.
This example app won’t be a part of pub-published binaries. It is just there to showcase the usage. The code inside the example app also populates the Example section of the package home page.
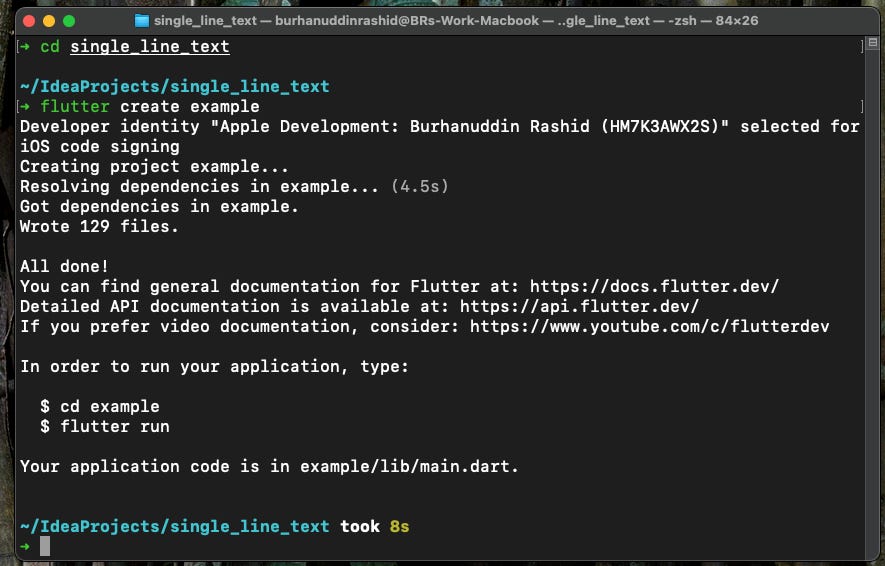
We can create the example app by simply using the above command.
First, we need to be on the single_line_text directory and run the flutter create example in terminal.
We can see the example app in the IDE now.
Step 5: Write Sample code for the example app
Add a sample code to show the usage of SingleLineText in the example app. Currently, we’ve got a simple widget, but for the real-world package, we might need to show more examples.
Since the package and the example go hand-in-hand. It is always a best practice to use our own package locally. For that, you need to add a package locally using the path in pubspec.yaml for the example directory like this.
Run flutter pub get inside the example directory to get SingleLineText and then run the sample code to test it out.
Step 6: Dry run the package before publishing
I highly recommend running this step before publishing, because it will catch all the errors and will run through the checklist to make sure we follow the pub.dev guidelines
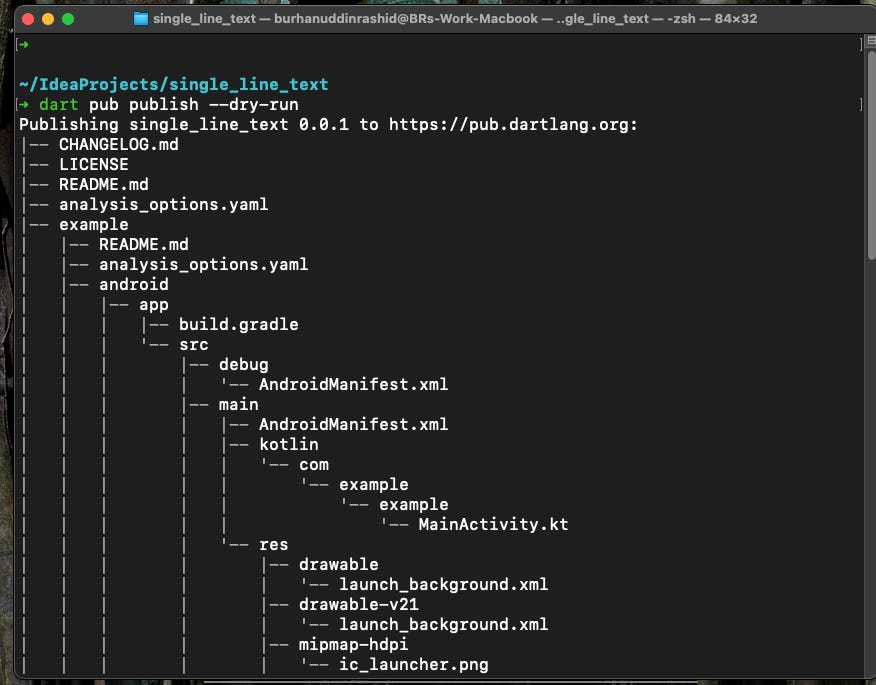
Make sure we are in the single_line_text directory and not in the example directory because I’ve spent quite some time debugging why the command did not work properly just because I was in the wrong directory.
Run dart pub publish –dry-run and it will show the warning to fix.
Make sure you go through guidelines and best practices and once you fix all the warnings. You are now in the final step of publishing your package.
Step 7: Publish the package
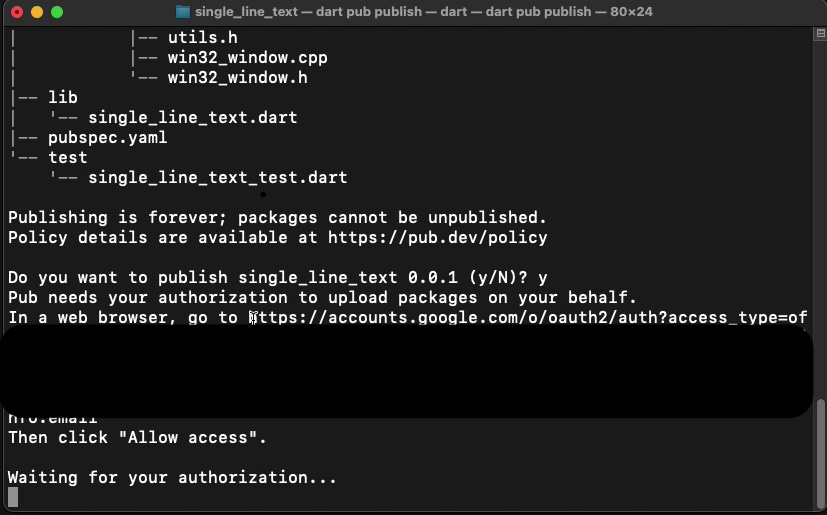
All you need to do now is to run dart pub publish.
If you are running this for the first time then we need to authenticate once by logging in through a Google account. We need to do this only once.
And that’s it. Congratulations on publishing your first flutter package.
Once it is published, you can check all the details of the packages on pub.dev
That’s it, folks!!
If you are interested, I am going to publish a video version of this blog on my YouTube channel. Subscribe to get notified when the video is live.
If you found this post helpful or informative, would you consider sharing it with your friends and colleagues? It would mean a lot to me, and I believe it could be valuable to them as well.


